
Finally see how to stop getting stuck in a project management tool
Book a Live Demo20 min. personalized consultation with a project management expert
How to Create a Blog for Your Small Business
Build brand awareness and increase your company's online presence

It’s no secret that your small business’s web presence plays an important part in its success.
Having a website is a given, but if you’re looking to further your online visibility, then creating a blog is a step in the right direction.

This article will tackle the reasons why it makes sense for your small business to have a blog and includes a step-by-step guide on how to create one.
Why Your Small Business Needs a Blog
Short for “weblog”, a blog is an online platform that provides information on a specific topic. The information is shown in reverse chronological order where the most recent piece is always first. It can either be written by one or more contributors.
A blog for your small business is a crucial digital marketing tool. It can help with audience outreach and steer traffic to your website. According to WordPress, over 409 million people view more than 20 billion pages each month – that’s a whole lotta readers!
Having a blog for your small business can increase brand awareness as they’re a great communication tool. They can help keep customers and potential customers updated on the ongoings of your business, and they’re an ideal platform for making announcements and updates, and also teaching your audience about your product.
Another great reason why having a blog for your small business is worthwhile is that it can widen your social media presence, help your business to engage with its community, and separate you from your competitors.
Questions to Ask Yourself Before Creating Your Small Business Blog
- Why are you blogging?
There are several reasons why you might have decided to take the plunge and create a small business blog. Maybe you wanted to drive more traffic to your website or perhaps you wanted to boost your brand’s visibility.
The reason for doing so can determine the kind of blog you will write. It will help you decide on which topics to write about, the style and language of the articles, and how to visually represent all the information.
- What will your blog offer?
Your blog needs to provide some kind of value to your readers or else no one will read it. Whether it’s tips and tutorials on a popular topic or covering a niche market, you have to ensure that what you publish offers something to an audience. Speaking of audiences…
- Who is your target audience?
Your small business blog needs to have a target audience. Doing so can help determine what kind of content you will write about and how you will write it. For instance, a blog whose target audience is corporate Generation X will read differently from a blog that is aimed at university students.
- What is your call-to-action?
A call-to-action (CTA) helps you to achieve the goals you have for your blog. It brings your reader’s attention to an action you want them to take. To optimize the effectiveness of your CTA you need to pinpoint exactly what it is and what purpose it will serve. It can be anything from promoting an upcoming event and boosting sign-ups to directing the reader to a partner’s page.
5 Steps to Create Your Small Business Blog
Step 1: Select a platform
The very first step is to select a platform to create your blog in. There are lots of blogging platforms to choose from and deciding on which to go for can get a little overwhelming. However, it’s always worth the effort of doing a bit of research and comparing the platforms so you end up with the one most suited for your small business. Many platforms have a free plan option, but these are often limited in the features they offer.
Your best bet is to go for a platform that is simple to set up and easy to use. Something that doesn’t require any coding skills and is easy to customize. Even if you have a web developer whizz at your disposal, using something uncomplicated to start off with is recommended. If you think you want to eventually grow your blog into something bigger, then select a platform that is flexible enough to meet future requirements.
Step 2: Get it online
Your next step is to get your blog online. To do this, you need to register a domain name and purchase web hosting.
The domain name is your blog’s online identity. You can have your own domain name or you can have a subdomain of a provider company. The former looks more professional but it usually comes at a cost.
To have a blog up and running, you need to have a blog host. A blog host is a company that equips you with space on its servers which allows you to store files and deliver them to users online. Some blog host providers give you a discount on domains.
Step 3: Plan a blog strategy
Having a blog strategy is essential for any small business looking to start one. To be successful, or at least keep up with your competitors, you need to be able to publish content regularly and strategize on how you’re going to do it.
An editorial calendar can help you stay on track. It can monitor what you want to write, who will write it, when it will be published, and where the content will be shared. Here’s how to create an editorial calendar in Zenkit:
- Sign up to Zenkit and create a free account.
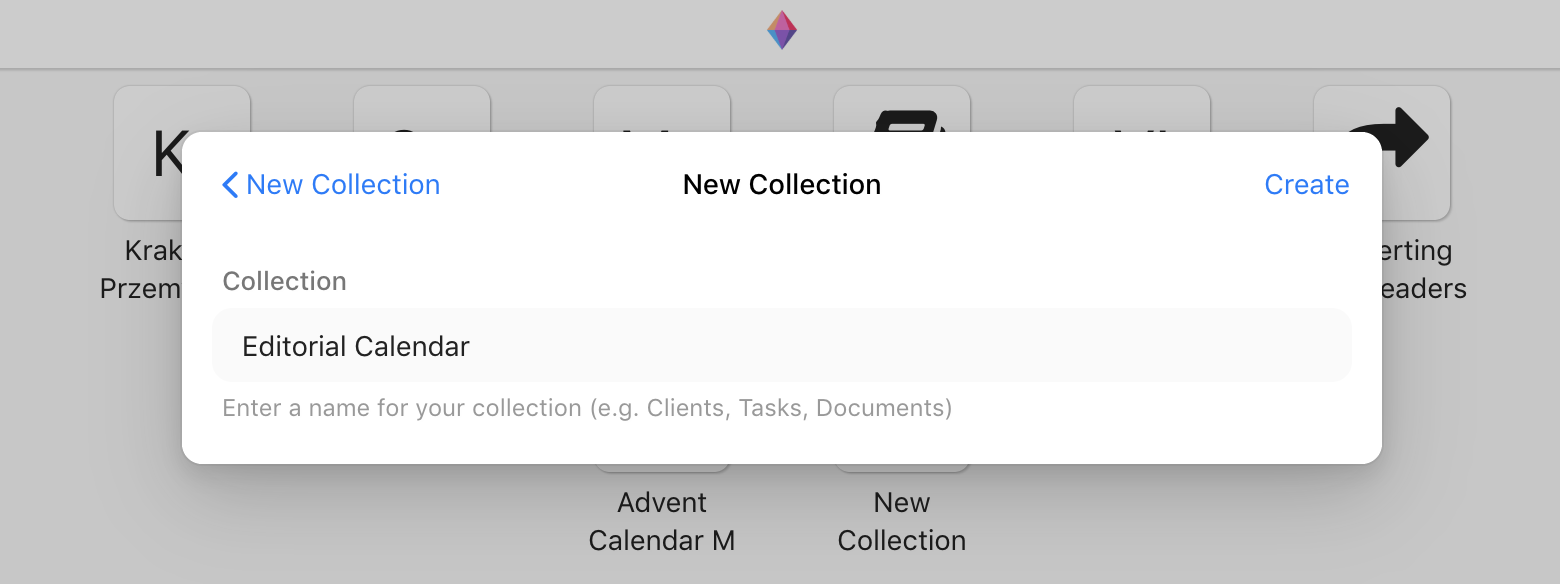
- Once you’ve signed in and customized your profile, click on New Collection, give your collection a name, and hit create.
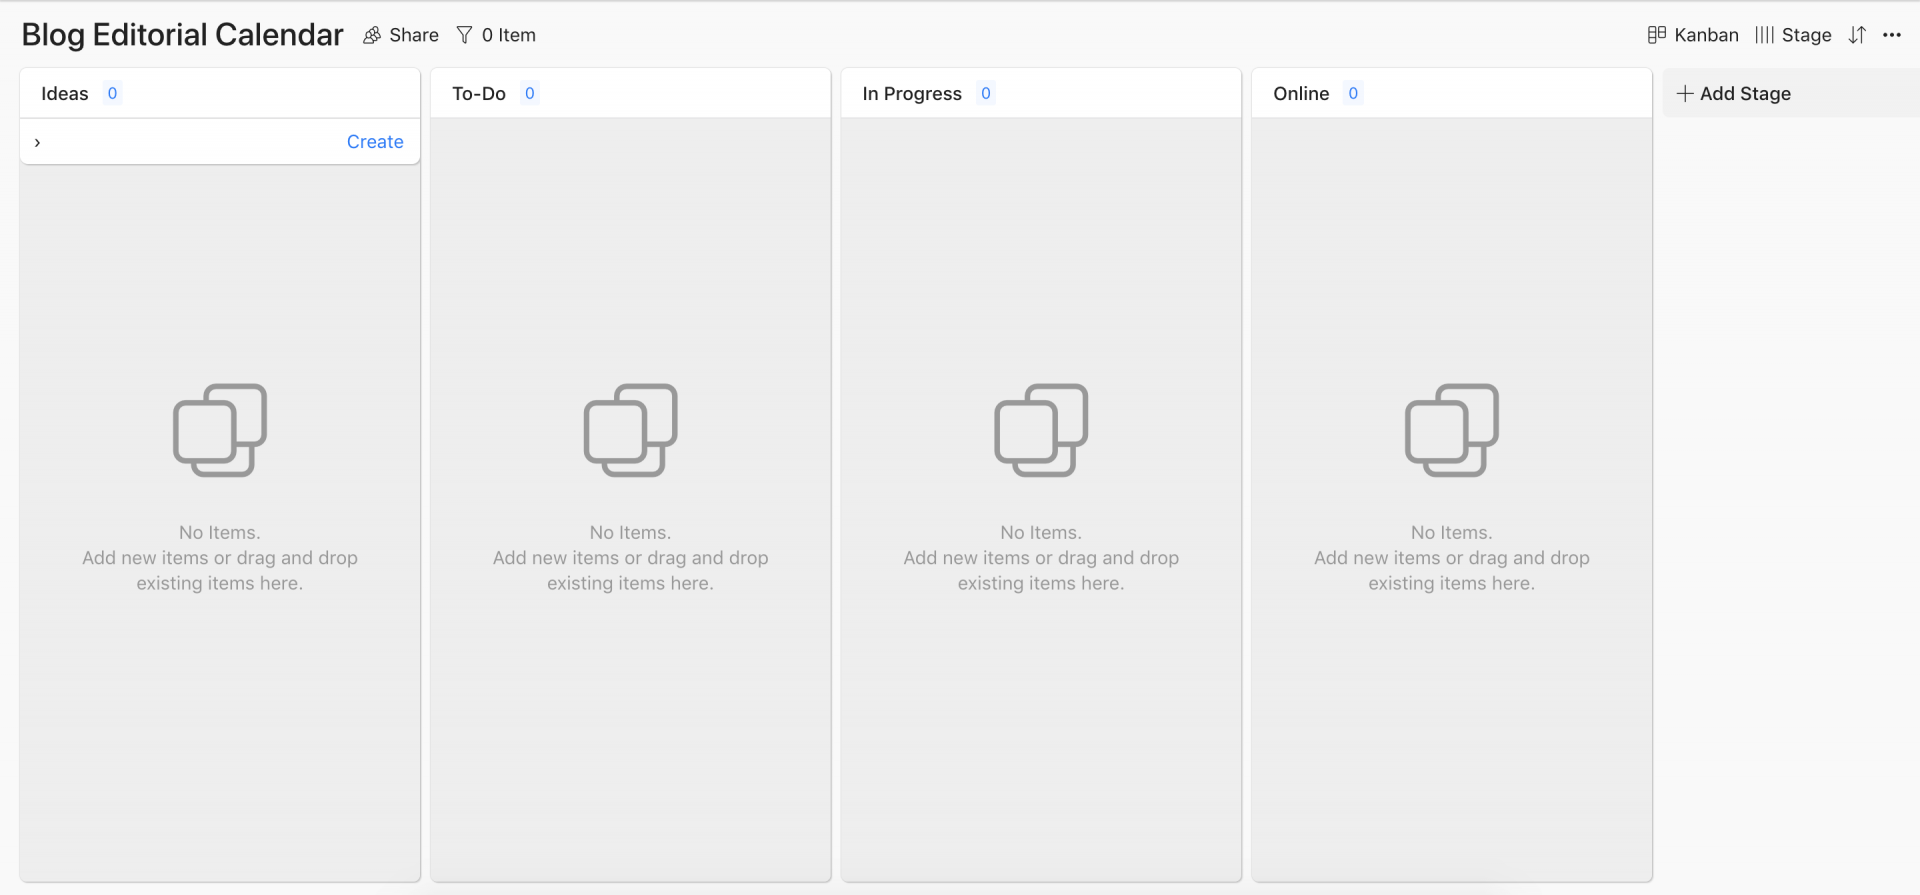
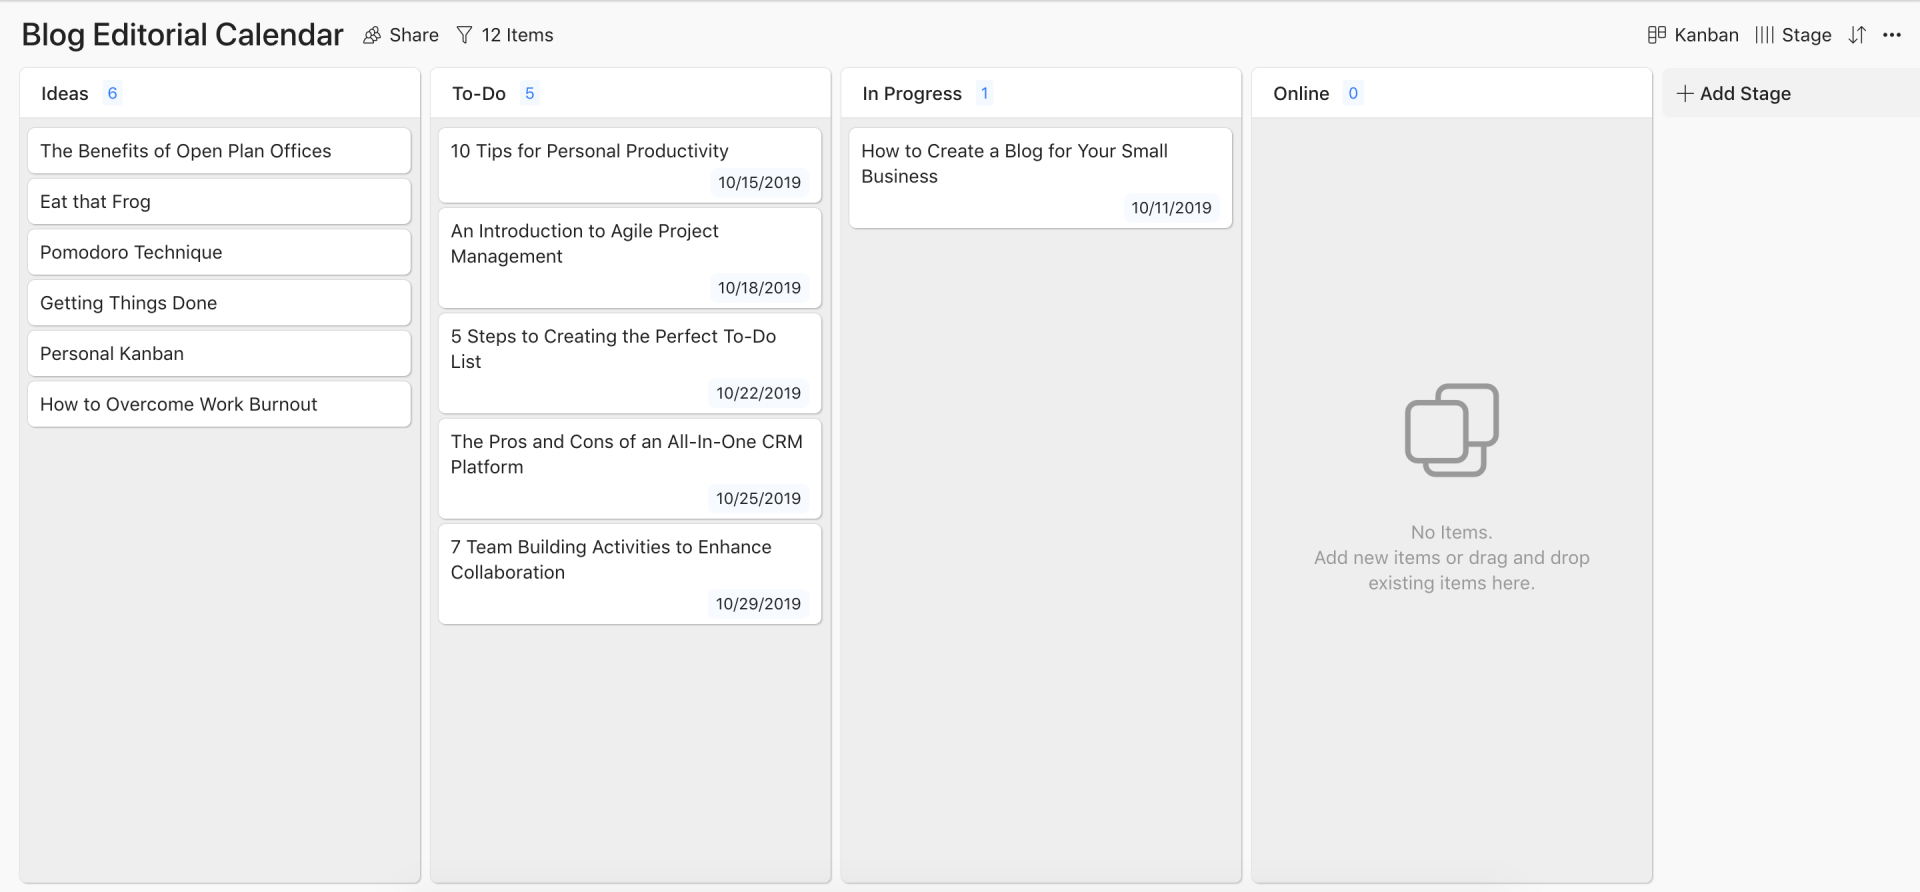
- You will see that it automatically takes you to the Kanban board view – which is perfect for the editorial calendar. Following the Kanban method of labelling columns as “to-do”, “doing”, and “done” is the ideal structure you want for an editorial calendar. It visualizes the progress of each piece of content from coming up with the idea all the way ‘til it’s published online.
Label the first column “Ideas”, then the next one “To Do”, the third column should be titled “In Progress”, and then finally, create a fourth column and label it “Online”.
(Of course, you can label your columns whatever you’d like and you can add/remove however many columns you see fit – this is just a general guideline.)
- What makes Zenkit great for building an editorial calendar for your small business blog is our custom fields. Custom fields add more context to a task and can optimize your workflow. Every field in Zenkit is a custom field that comes with 12 options that allow you to include additional information such as deadlines and contributor names at no extra cost.
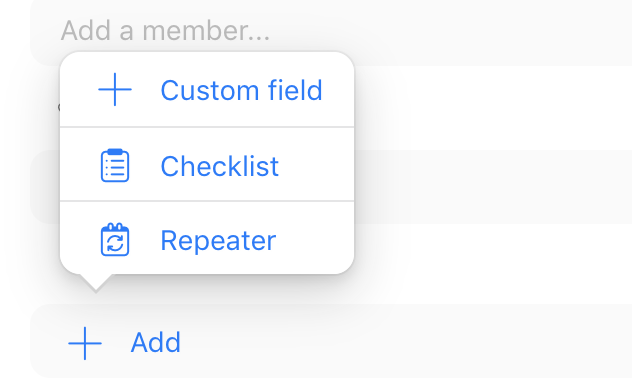
To add a custom field to a task click on a task to open it. Click on the “+” sign located on top of the comment section, then select “custom field”.
Give it a name, select its type, and fill in the other details.
Tip: Use the Description to explain to team members how that particular field should be used. It’s a great way to get your message across and ensures the field is being used correctly.
Recommended fields you should include:
- Assigned to
- Due date
- Link
- File
- Language
- Type (of content)
Alternatively, you can head to Zenkit’s template page and use the blog planner template.
Step 4: Start writing
Before you can go ahead and start writing, you need to have topics to write about.
Think of your target audience and consider the kind of things they’d enjoy reading. Your target audience will almost always be your customers and potential customers. Think of subjects related to your product and issues your audience may experience and want to resolve. This can help to build trust in your brand.
A good way to do this is to hold a brainstorming session with your appointed content or marketing team. Then record the ideas on your editorial calendar. You could also open up the ideas and suggestions to other employees within the business. Maybe someone in a different department may have a great idea for a blog topic, customer service teams are usually familiar with what customers are seeking.
Another way to come up with article ideas is to scope the competition to see what they’re doing and create content similar—and better—to theirs.
Blogging best practice is to plan your posts in advance which means you need a few topics confirmed before you start writing. By planning ahead you’ll ensure that your content team doesn’t run out of topics and can continue to publish articles regularly.
Some writing tips to keep in mind:
- Have an attention-grabbing (but not clickbait) headline
- Create constructive and valuable content
- Include images, graphics, and videos in your articles to make them more engaging for the reader
Step 5: Keep up the momentum
While a very satisfying feeling, hitting the publish button on your article doesn’t mean the work ends there. There are various steps to take after you’ve published your content, such as…
- Encourage your readers to give feedback by adding a comment section at the bottom of the blog pages. And, of course, respond to every comment—even the negative ones. Make sure you maintain a level of class and etiquette in your responses. This will create a dialogue that can attract more traffic to your blog and eventually to your website.
- Share your blog article on your business’s social media channels. Sharing content on social media increases its exposure and further promotes your business and your brand. Urge your employees to share it on their social media channels too.
- After you’ve published a few articles, it’s a good idea to start analyzing your blog’s performance. Knowing details such as how many visits and shares one of your articles gets can help to improve future content.
Final Thoughts
Establishing your online presence is essential for any small business wanting to succeed, and creating a blog is a great way to do it.
Not only can it increase your web visibility and build brand awareness, but it can also drive traffic to your website, help you engage with customers, and make you stand out from the competition.
Remember, in order to keep your blog going, you have to think of topics that will be of value to your readers, share your content on social media, manage feedback from readers, and examine your blog’s performance.
What topics will you cover in your small business’s blog?
Cheers,
Dinnie and the Zenkit Team
FREE 20 MIN. CONSULTATION WITH A PROJECT MANAGEMENT EXPERT
Wanna see how to simplify your workflow with Zenkit in less than a day?
Book a Live Demo
Thanks for sharing nice post. keep up the good work
Thanks for sharing nice article. keep up the good work