


Change is inevitable when it comes to project management. That’s why many project managers are electing to use agile methodologies wherever possible. Agile project management doesn’t just accept changes, it embraces them, making it more than ideal for tracking the delivery of a project.
In this article, we’ll show you how to create new agile projects and apply agile views to Microsoft Project.
Here are some of the things you’ll learn:
- The benefits of using Agile project management
- How Agile project management works in Microsoft Project
- 4 quick steps to creating an Agile schedule and tracking it in Microsoft Project
- The easy way to apply Agile view to non-Agile projects
- 4 steps to Agile management in Zenkit
A Bit of Microsoft Project Background Info
Microsoft Project is a project management software product designed to assist project managers in their project endeavours. It includes features that can help with developing a plan, assigning resources to tasks, tracking progress, managing budgets, and analyzing workloads. First released in 1984, it is available in two editions, Standard and Professional. Its most recent version is Project 2016 and it’s where agile features were first introduced.
Why Agile?
Agile project management is a methodology that adheres to the values and principles conveyed in the Agile manifesto and follows the idea of short development cycles being the most effective way to deliver a product or service as it allows for continuous improvement and is susceptible to change. Mainly used in software development, it has gained traction in many other industries due to its emphasis on collaboration, flexibility, continuous improvement, and high-quality results. It uses popular project management frameworks such as Scrum — where development is delivered in incremental and iterative progress — and Kanban — a highly visual scheduling system — to carry out a project.
Created as a response to the inadequacies of the linear, sequential method of Waterfall methodology, the demands and solutions of agile methodology evolve through the collaborative effort of self-organizing and cross-functional teams and their customers. Agile is a great project management method for teams looking for adaptiveness, clear and measurable deliverables, and a flexible approach to working.
Agile in Microsoft Project
If you’re a Project Online Professional or Project Online Premium subscriber, you get to enjoy the perks of creating Agile projects or applying Agile views to existing projects. The feature operates with Project standalone .mpp files and with Project Online.
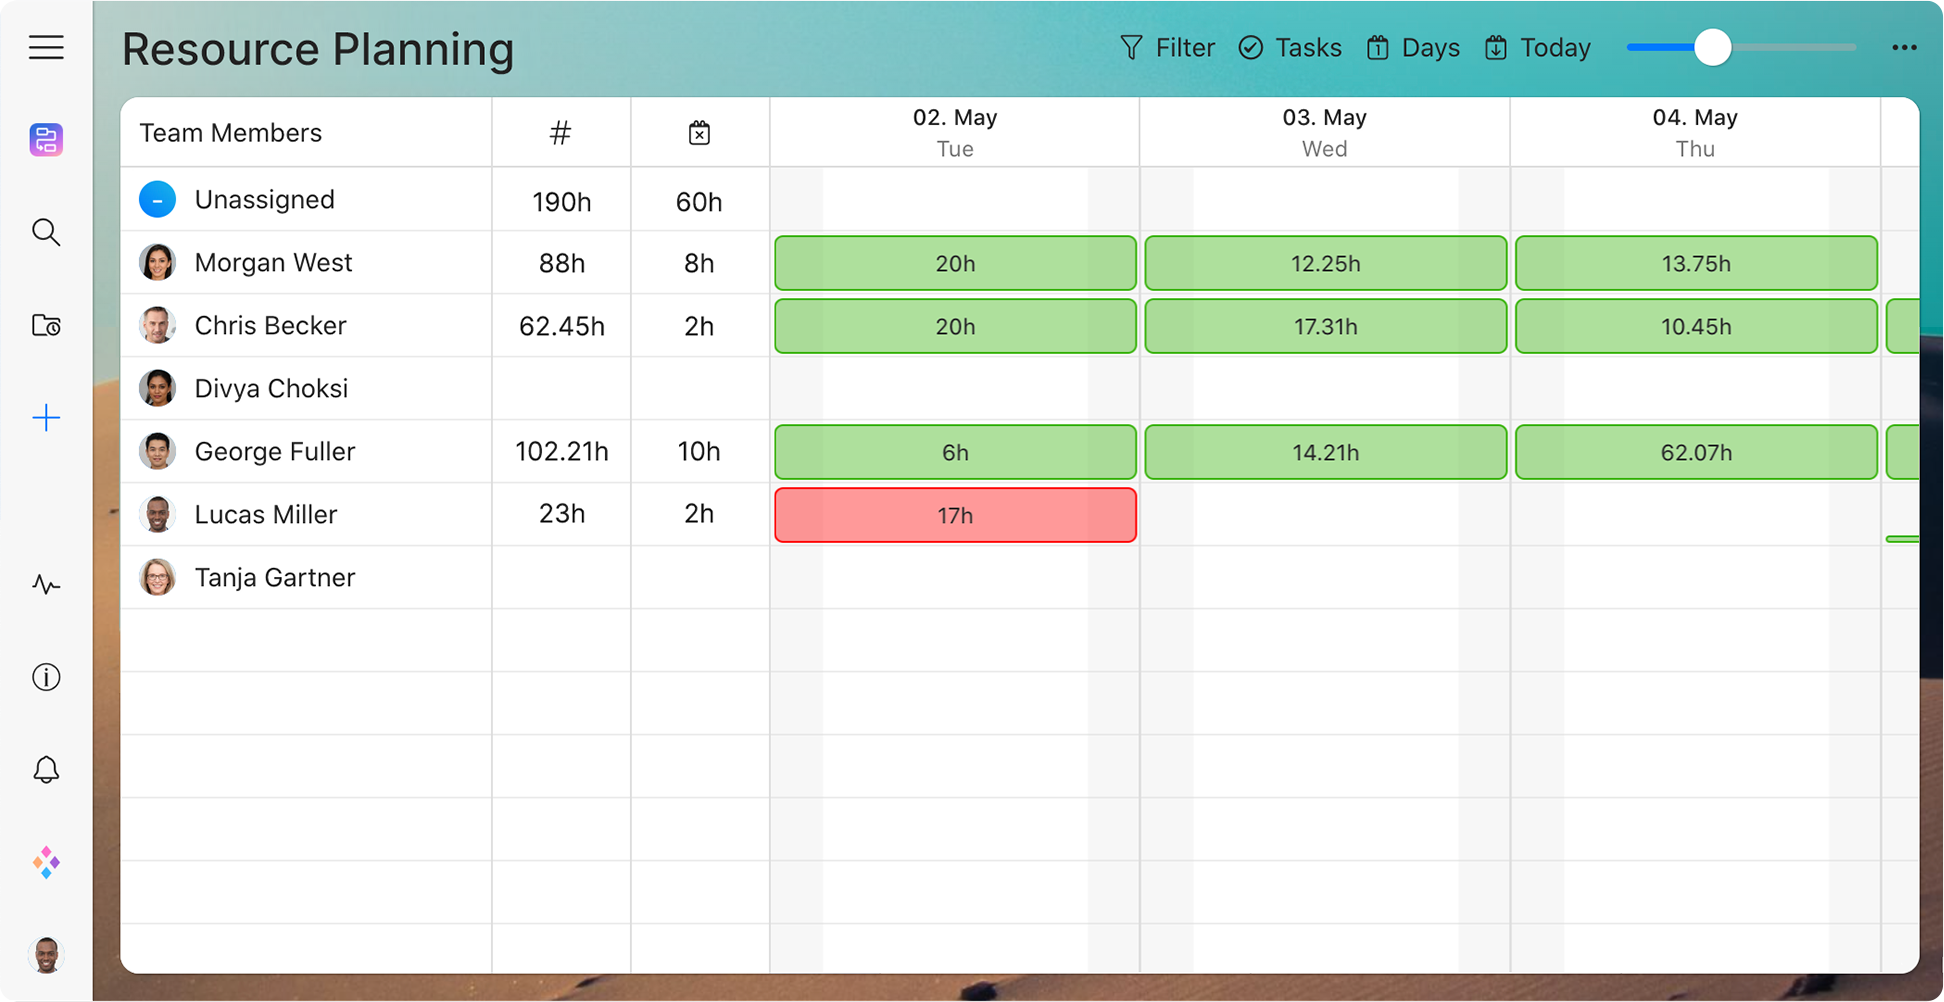
Using Agile in Microsoft Project allows you to track your projects in Project Online Desktop Client. Not only will you be able to create new agile projects or implement agile views to existing Waterfall projects, but you’ll also be able to create backlogs, track sprints, and view reports on agile statistics.
How to Create an Agile Schedule with MS Project and Track Your Project
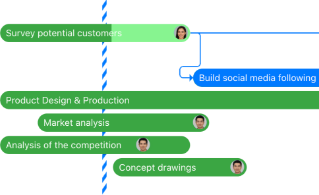
Tracking a project needs to be visual, and there’s no better visual project management tool that enables you to design, manage, and improve workflow systems than a Kanban board. Here’s how you can create one on MS Project.
Step 1: Choose a template
Once you’ve opened MS Project, you’ll be presented with a list of templates — select the Kanban Project option.

Step 2: Add tasks to the backlog
Go to your Kanban tab and in the Views group choose Backlog, and then Backlog Board.

The first column in this instance will be Backlog for Kanban, then you click on New Task, write down a task name, and then select Add or press Enter.

Next, add details to your task by double-clicking the task and then the Task Information dialogue box should pop up. Add details such as resources, delegations, and task summaries.
Step 3: Create the Kanban board that will visualize the project’s workflow
Select Backlog Board which is located under Backlog in the Views group under the Kanban tab.
To start off with, MS Project will then present you with three columns titled Next up, In progress, and Done. As you go along, you can always add more columns and rename them:
- Each column can be renamed by right-clicking on the column name, then selecting Rename, and once you’ve typed in the desired name, press Enter.
- More columns can be added by selecting Add New Column which is found on the right of the last column, then typing in a name, and then pressing Enter.
Step 4: Track progress by shifting tasks across the board
Once all your columns have been added, you can then drag and drop tasks into the column that best represents their progress status.

How to Apply Agile Views to Existing Non-Agile Projects on MS Project
The agile features on MS Project aren’t solely for creating new agile projects, they also allow you to apply agile views to existing non-agile projects or Waterfall projects as they’re also known. Here’s how:
Step 1:
Select the Project tab in your existing non-agile project, and then in the Properties section, click on Agile.

Step 2:
When the Agile Methodology dialogue box pops up, select either Scrum or Kanban, and then hit OK.

Having the option to view your project in an agile format is a great feature to have on your project management software. Zenkit includes agile data views like a Kanban board which is literally created in one click.
Agile Project Management in Zenkit
The Kanban view is one of Zenkit’s renowned features. So much so that it’s set as the default which means you’ve already saved yourself a step when creating an agile project. Now, here is the rest:
Step 1:
Create a new collection and open the Kanban view. Start off by creating three lists or columns called “To-Do”, “Doing”, and “Done” (of course this is just a guide, you can add as many as you want!).
Step 2:
Create an item for each task on your To-Do list, and add any extra visual aids you might need. Labels to show priority is a good example.

Step 3:
Set your WIP limit number (for now this will have to be on your honour as there isn’t a direct WIP setting yet). When you start working on a task, move it along to the “Doing” list. Make sure that you never go over the number of items you set in your WIP limit.
Step 4:
When a task is complete, drag it over to the “Done” list, and move another task from “To-Do” into “Doing”.
Just like how agile project management works in Microsoft Project, Zenkit also enables you to continue working from any view instantly. All you have to do it switch the view using the menu found on the top right-hand corner of your screen.

Final Thoughts
Having a project management tool that enables you to track your project with ease but also includes all the bells and whistles necessary to get the job done as efficiently as possible is a product worth investing in. So, whether it be Microsoft Project or Zenkit, ensure yours is a project management tool that includes agile features because, let’s face it, every project manager wants to be best prepared for inevitable changes, right?
Let us know how you keep on top of your agile projects!
FREE 20 MIN. CONSULTATION WITH A PROJECT MANAGEMENT EXPERT
Wanna see how to simplify your workflow with Zenkit in less than a day?
Book a Live Demo


Leave a Reply