Draw Anything in Zenkit
Add a drawing to your chat, note, or any item or task!

The latest feature to grace the Zenkit suite isn’t a new productivity tool or a fascinating new way to connect everything together. In fact, some may even find it frivolous or worse, an anti-productivity tool!
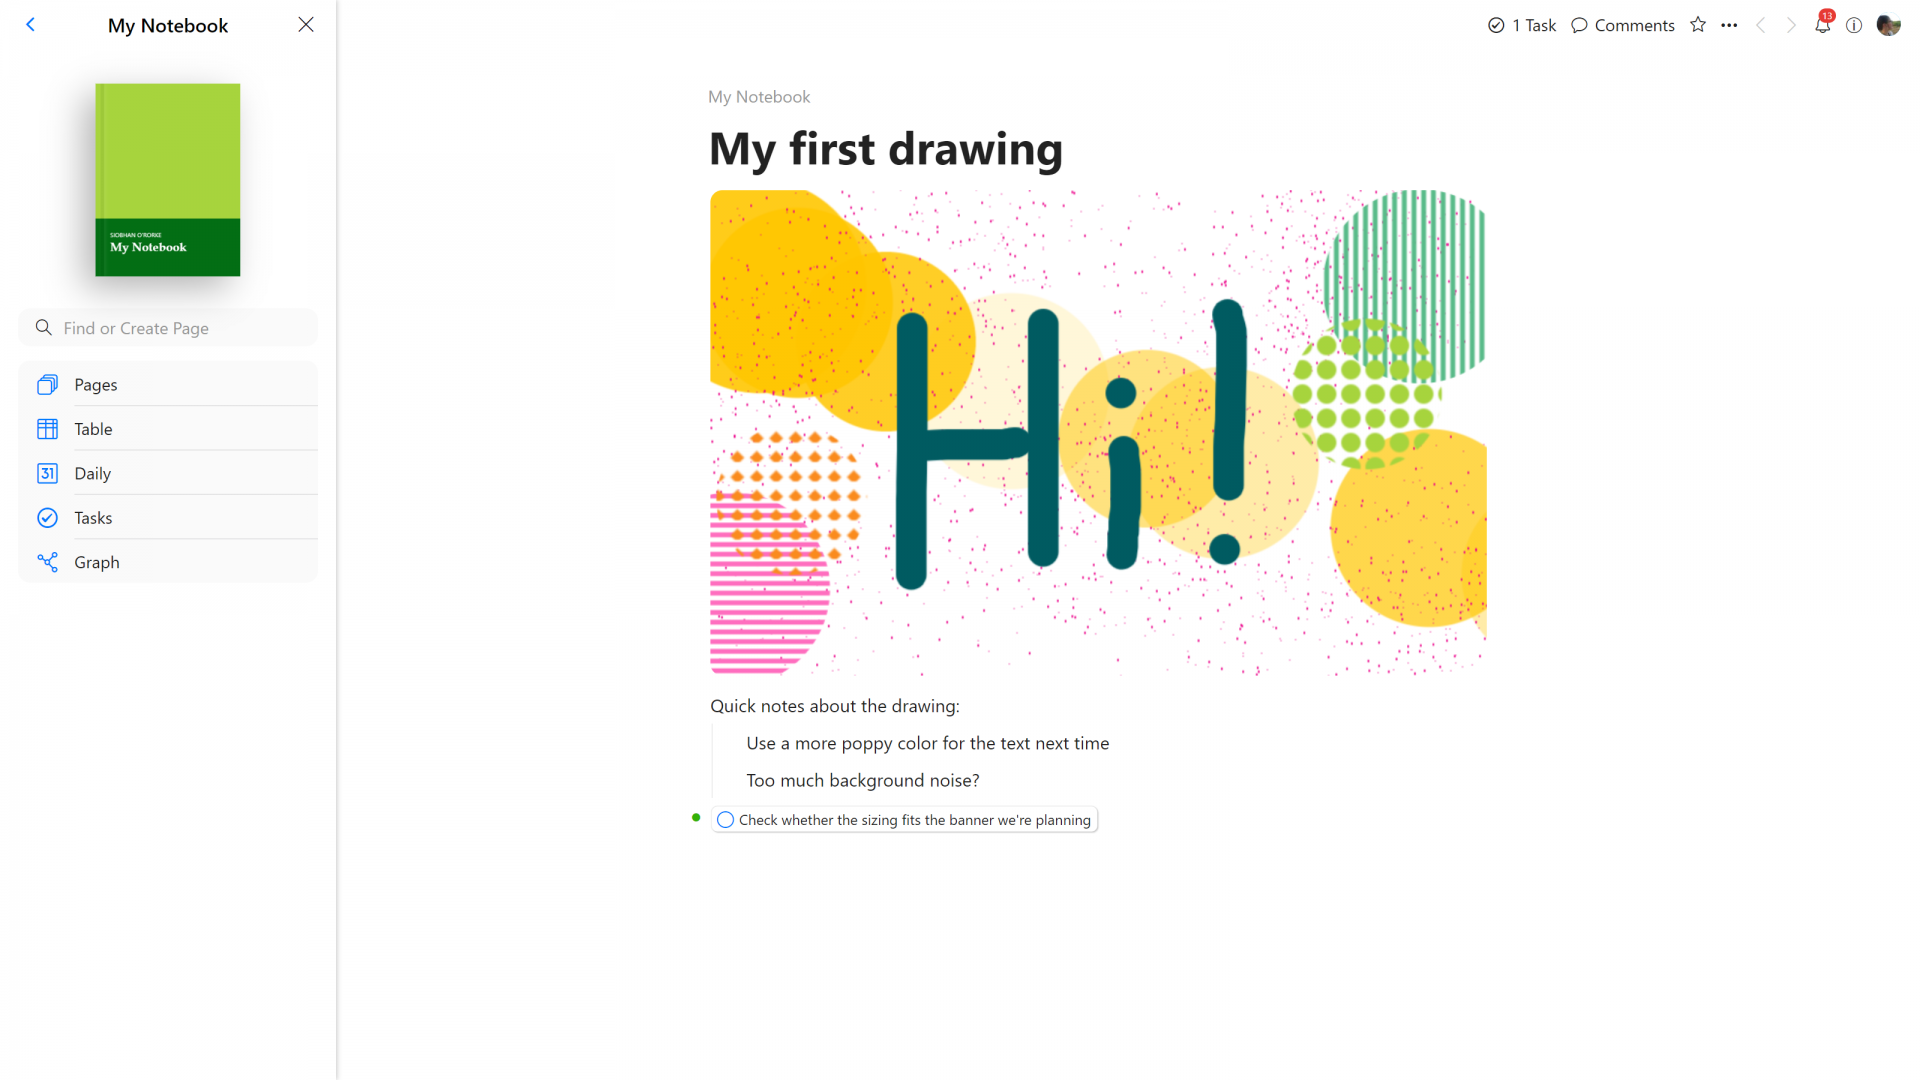
But we think that drawing at work is an excellent use of time…
Introducing the Drawing Tool
Whether you’re creating a task in To Do, whipping up a new note in Hypernotes, or having a watercooler chat in Zenchat, there’s always room to draw. Drawings can help illustrate a point, send some cheer, or act as a basic diagram of something you’re planning to build. Whatever the reason may be, we think that this feature can offer an important visual aid that has thus far been missing in the productivity universe.
You can add a drawing anywhere in Zenkit that you would usually upload a file or image: In Hypernotes, use the quick command “/draw”. In Zenchat, click or tap the + button and choose “Drawing”, in To Do and Base, instead of uploading a file or linking to one in the cloud, simply click “Drawing” instead!
Drawing in Zenkit
Once you’ve opened the drawing window, you’ll be presented with a blank page and an array of basic tools, like a colour picker, some different brush options, undo/redo, and the option to add text or images to the canvas.
The first thing you can (or really, should) do is select the size of your canvas. You can do this by clicking the “Size” button in the top left corner. Choose either a custom size, or pick a predetermined portrait, landscape, or square image.
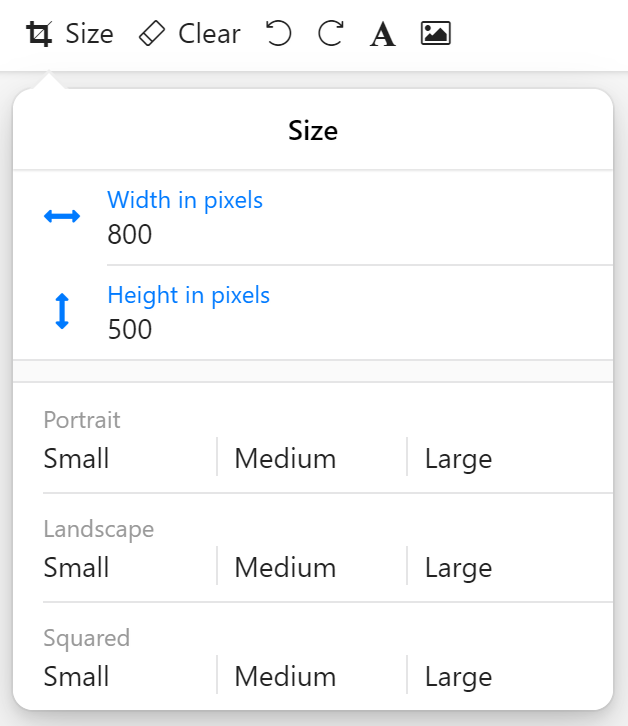
Once you’ve created your canvas, pick a colour in the top right, and start drawing!
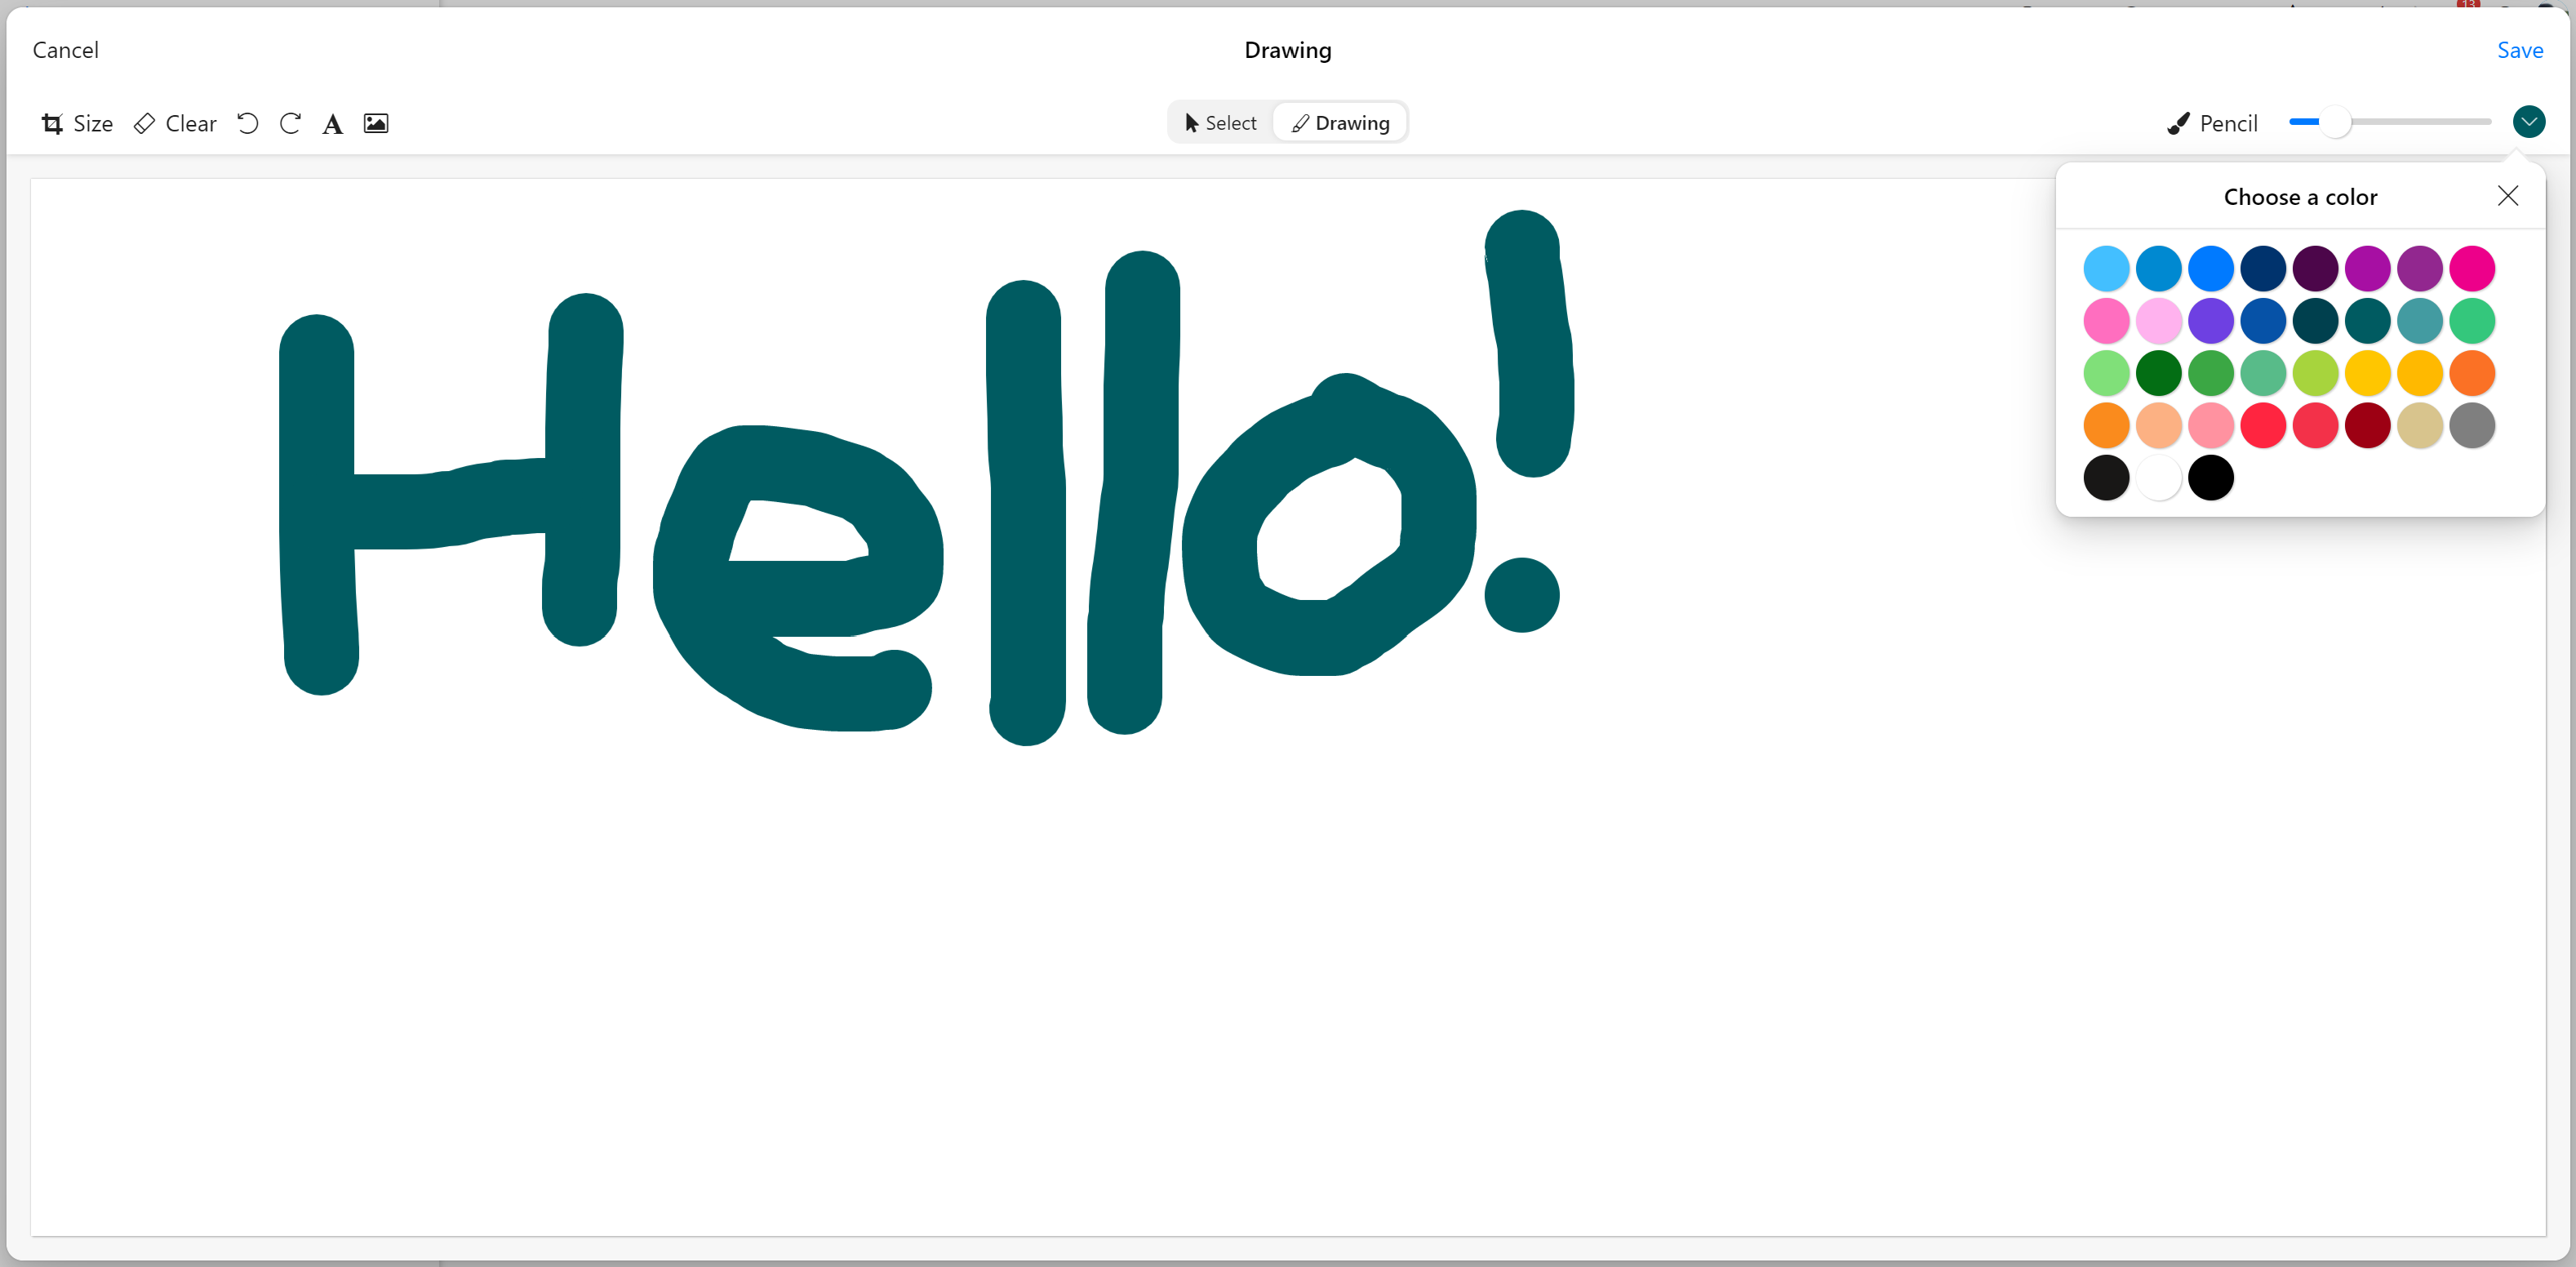
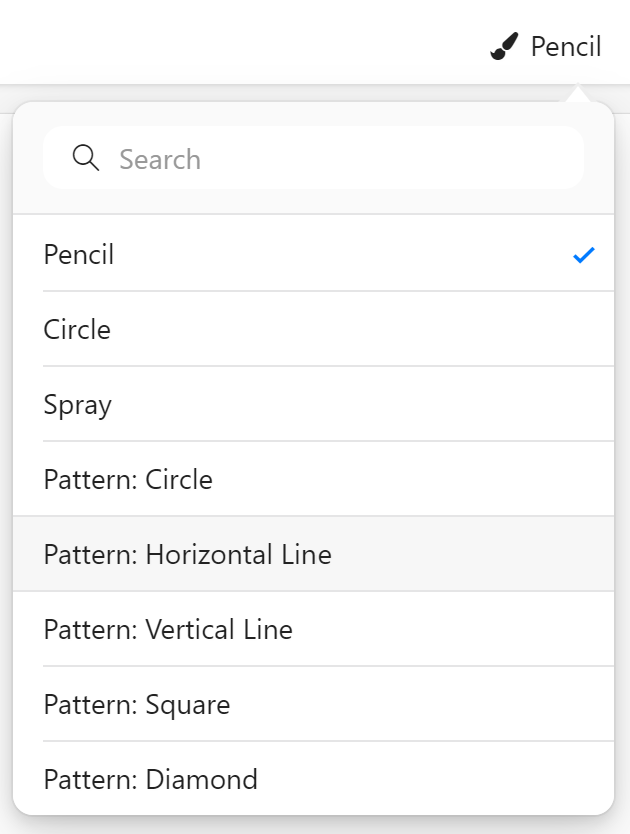
The colour picker currently offers the same colour options as the label colour picker, however, this may change in future updates. To change the size of your brush, use the toggle to the left of the coloured circle. In the same corner, you can also pick a different brush, which will allow you to use different textures to create more layered and varied work.
You can click “Select” in the centre of the top panel to select different elements of your drawing and move them around, rotate, or resize them. To go back to drawing mode, click “Drawing”.
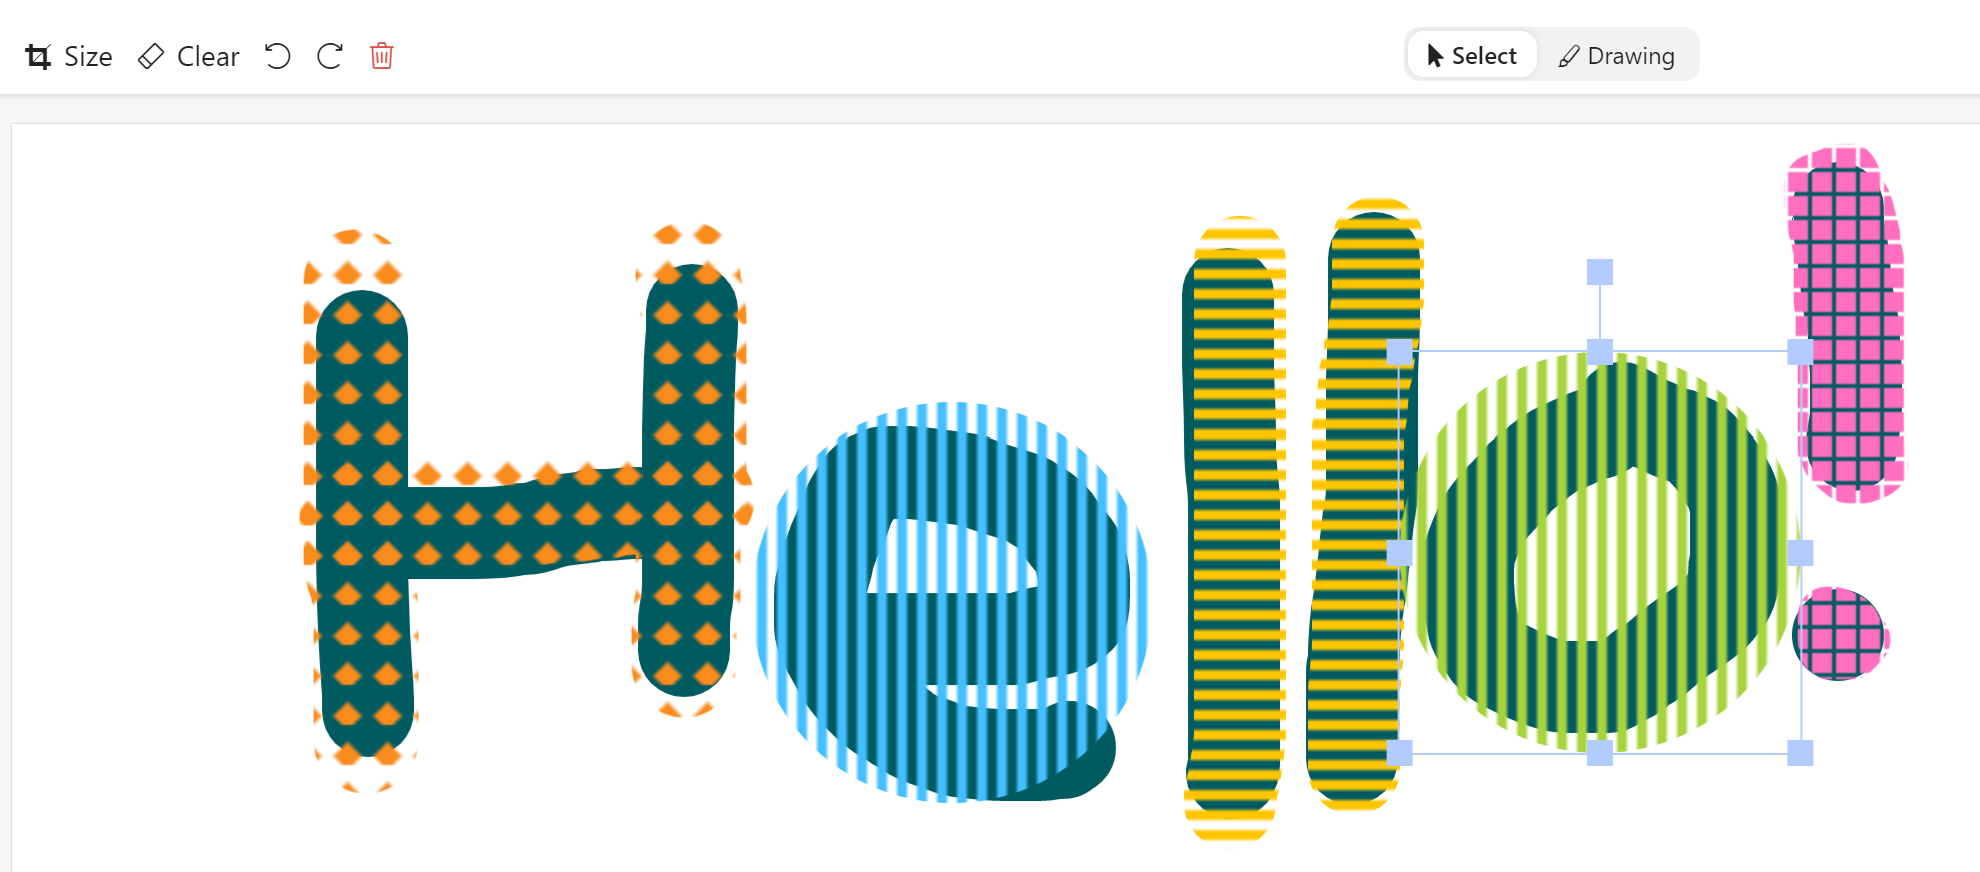
To undo or redo an action, use the undo/redo buttons or the Ctrl/Cmd+Z and Y shortcuts. To erase the entire drawing, click on the “Clear” button.
Once you’re happy with your drawing, click “Save” in the top right corner to save it as a file attached to your item, an image inline in your note, or send it as a message in chat.
Annotation
The drawing tool is not limited to only creating new images. It can also be used to annotate or extend existing ones, too! Any image file uploaded to any Zenkit product can be annotated using this tool. Simply open the image, then click “Annotate” in the top left corner.

The annotation will allow you to draw and select anything you added to the image, as described above, however it will not let you select or remove elements that existed in the original image.
What do you think? Are you going to start adding some drawings to your work?
Cheers,
Siobhan and the Zenkit Team
FREE 20 MIN. CONSULTATION WITH A PROJECT MANAGEMENT EXPERT
Wanna see how to simplify your workflow with Zenkit in less than a day?
Book a Live Demo
Drawing is a good feature 👍, but I would really like have PDF annotation! 🙏
Nice and helpful feature! Thanks! But for me, PDF Annotation would be perfect! I hope, this will be a Zenkit feature in the (near) future!
Hello Johannes,
Thank you for your comment and suggestion. We’re looking forward to integrating more functions and creative features soon.
Cheers,
Jessica