


A user manual, or user guide, is a technical communication document that is designed to educate users on a particular product. Produced in print or digitally, they can be written about almost any product, but are most common with computer software and hardware, electronic devices, and video games.
Usually written by technical writers or product designers, its purpose is to inform users and help them solve any problems pertaining to the product. As a vital component of product distribution, the quality of your manual can heavily impact the overall customer experience, which is why you want to get it right!

In this article, I’ll share tips on how to write a user manual that conveys information to your customers clearly, and show you how you can organize the writing process in Zenkit.
Tips for How to Write a User Manual
There’s a lot that goes into writing a user manual. From feature descriptions, to repair instructions, to all the legal details and safety warnings. Here are some tips to keep in mind when it comes to writing it:
- Know your objective
Every user manual should have a purpose. Commonly, it’s to help users resolve issues concerning your product, but with that, you should also decide how you want to help them. Once you’ve decided on the angle you want to take, break down the information into sections and step-by-step instructions that are straightforward enough to follow.
- Determine the user
It’s imperative to know the kind of audience that will read your user manual as it will influence how you write it. Knowing your average user can give you an idea of the language you should use when writing the user manual, the format, and overall style. For instance, writing for tech-savvy IT specialists will be very different to writing for parents with young families.
- Use accessible language
Regardless of who your audience is, the language of the user manual text should be accessible to even the most non-technical person. You have to assume the reader has zero knowledge about your product, so it should be comprehensible, clear, and concise. It should address the reader and the use of jargon should be limited.
- Make it visual
Humans are known to process visual data 60,000 times faster than text, which is why you want your user manual to include images. User manuals almost always include relevant images with the text. Some products even share screenshot images of step-by-step instructions or are just purely images (IKEA manuals are famously text-free). Images can really help to convey the message you want to communicate to your reader.
- Enhance findability
Face it, nobody’s going to read the entire user manual, so for readers to find value in it, you have to make it simple enough for people to skim through and find what they’re looking for. Give it a clean format by having a consistent layout from page to page and make sure there is a lot of space between chunks of text. Use familiar keywords related to the product and make sure the font is simple and readable.
How to Plan Your User Manual
Zenkit is a great tool for planning a user manual. The project management tool is packed with features that enable you to collect data and then structure it to create an optimized workflow. Here are the steps to organize your user manual writing process.
Step 1:
Sign up for a free Zenkit account and log in.
Step 2:
Once you’ve customized your profile, click on “new collection”, give your collection a name, and hit enter or “create”. You will be directed to the default Kanban view.
You can give your collection a little character by customizing an icon for it. To do this, click on the collection title, select “customization”, and pick the colours and icon logo that you want.
![]()
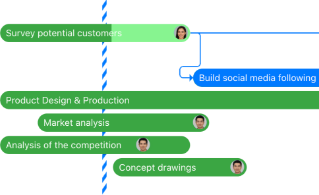
I’m personally a fan of using a Kanban board to visually map out a project plan. The visual scheduling system is great for identifying bottlenecks and issues that may arise during the planning process. It can also give you a crystal clear overview of how your project progresses.
The Kanban view presents you with three default columns labelled as “To-Do, In Progress, and Done”. You can rename the columns by simply clicking on one of the label names and going to the name section in the menu box that appears. To add more stages to your workflow, all you have to do is click on “+ Add Stage”, give the column a label, and either click on “create” or hit enter.
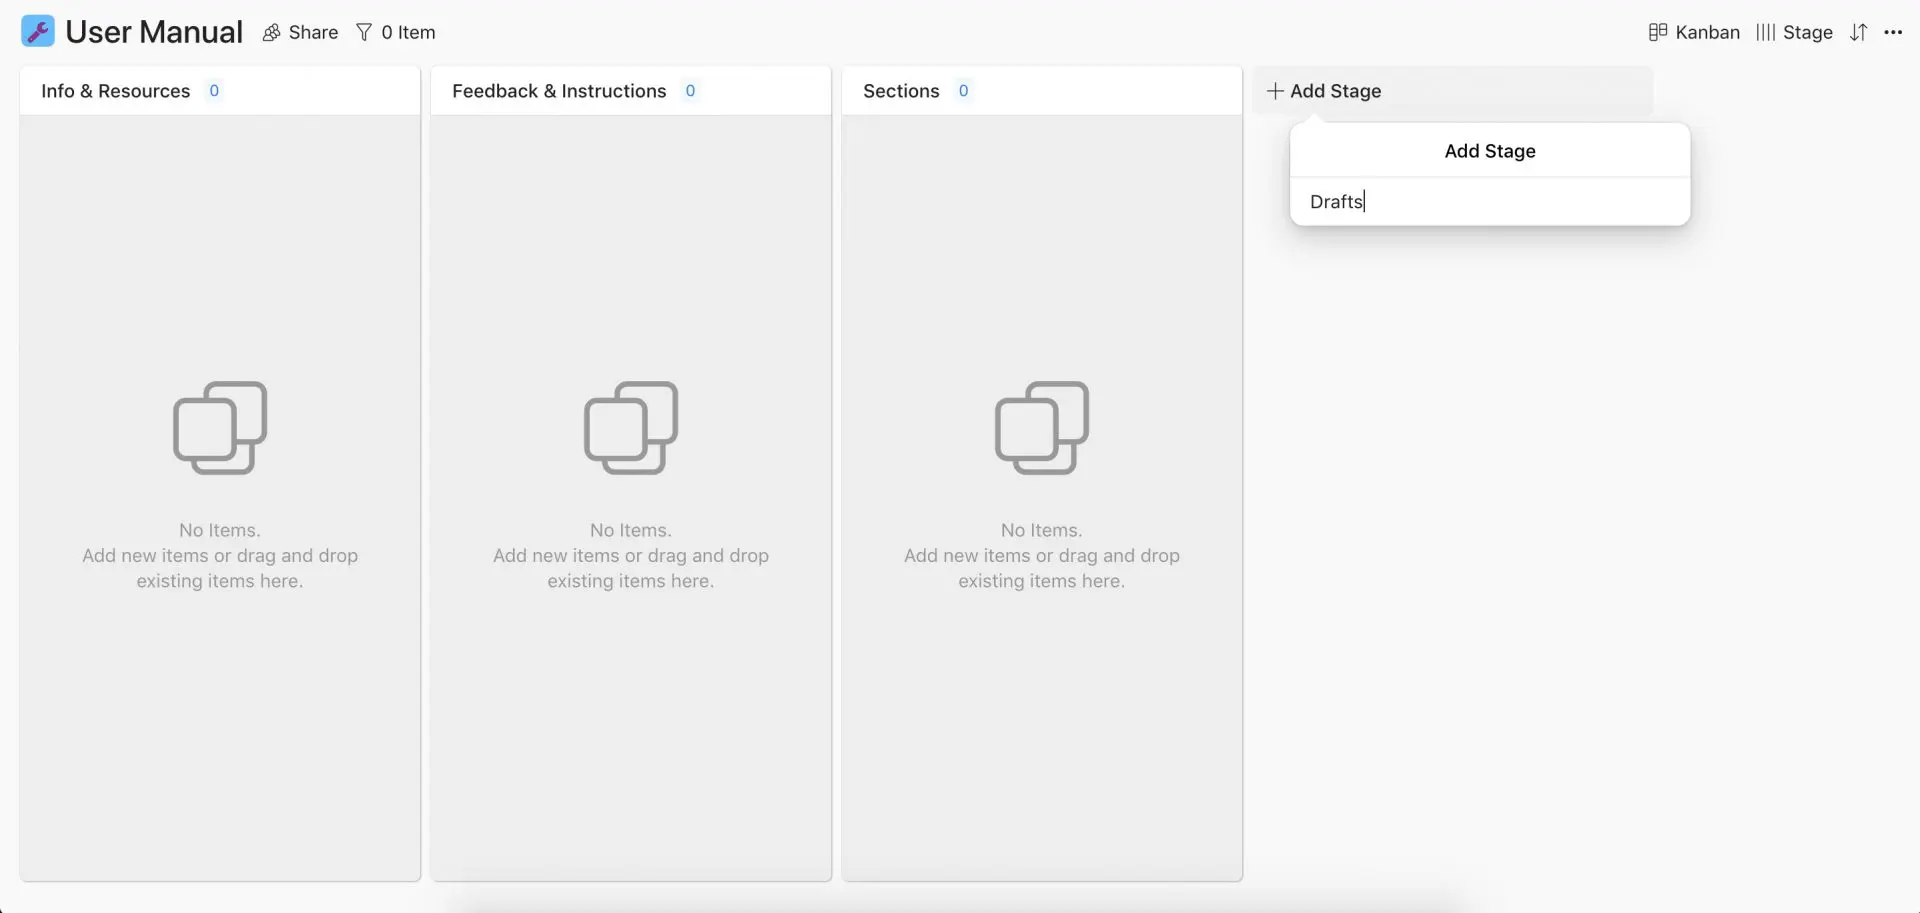
Of course you can select as many stages as you want for your workflow and label them whatever you see fit. The stages I went for are the following:
- Info & Resources
- Feedback & Instructions
- Sections
- Drafts
Step 3:
Once the structure of your workflow has been determined, you can start adding other elements as items under each column.
As I mentioned at the beginning of this article, a project like writing a user manual involves a lot of content; content that needs to be broken down into various chapters and sections, and sections of sections.
Zenkit’s subitems are the perfect feature for breaking down bigger tasks into smaller ones. One of our project management tool’s 12 custom fields presents all your items in a structured way so you’re able to work with a manageable timeline.
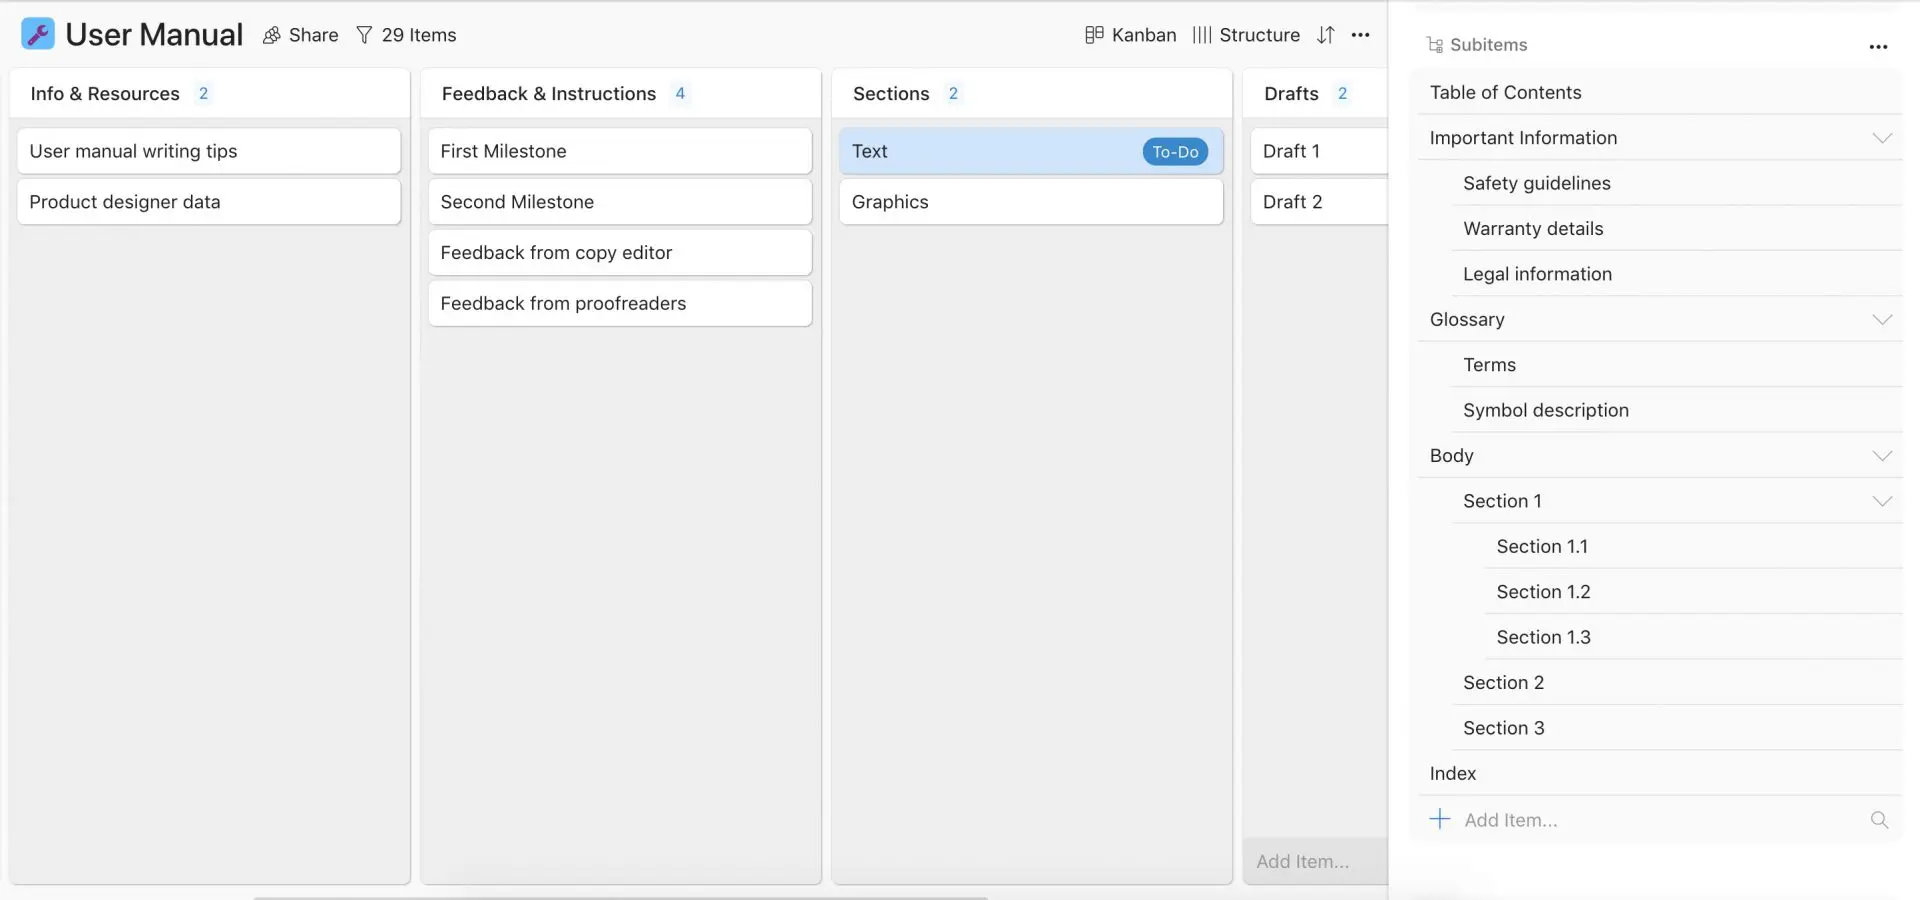
To add a subitem to one of your items, simply click on the item to open it. Then click on the “+” sign which is located above the comment section, then select “custom field”. Under the “Type” section, scroll down and select the “subitems” field. Don’t forget to give the field a name!
Step 4:
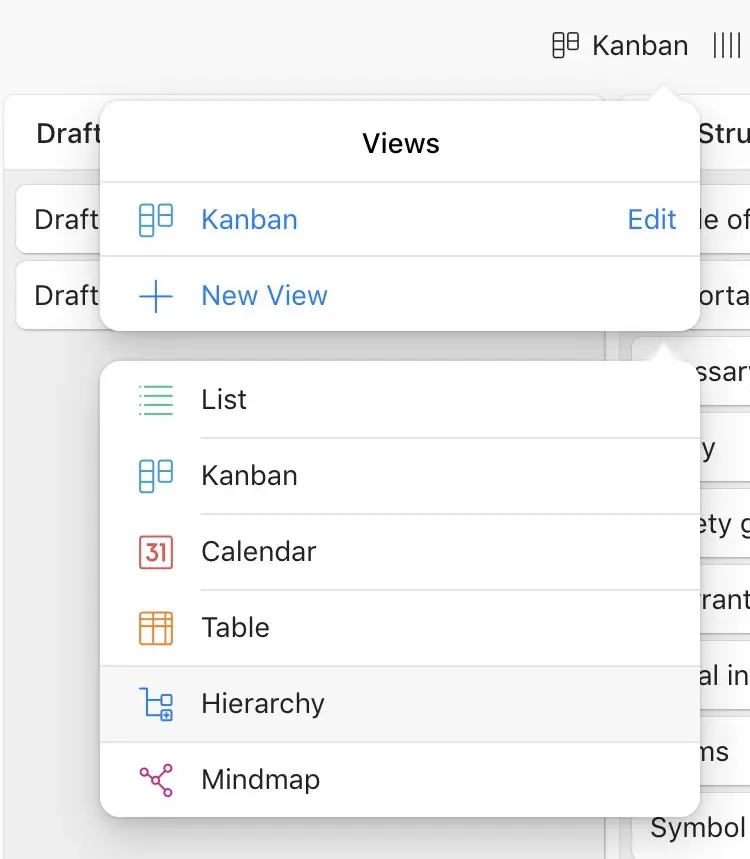
To add further structure to your workflow, you can use Zenkit’s hierarchy view. To activate this view in your collection, click on “Kanban” (or the name of whichever view you happen to be in) which you will find in the top-right hand corner and select “New View”. A menu extension should pop up and simply select “Hierarchy”.
Step 5:
When you first use the hierarchy view, you will find that your items are unconnected. You can connect them by dragging and dropping each item onto the main hierarchy panel. If you drag a parent item, you will find that the subitems will come along with it.
The hierarchy allocated to an item depends on where you place it. For instance, items dragged to the top will have a level one hierarchy and items that are dragged underneath another will turn into a subitem of that item.
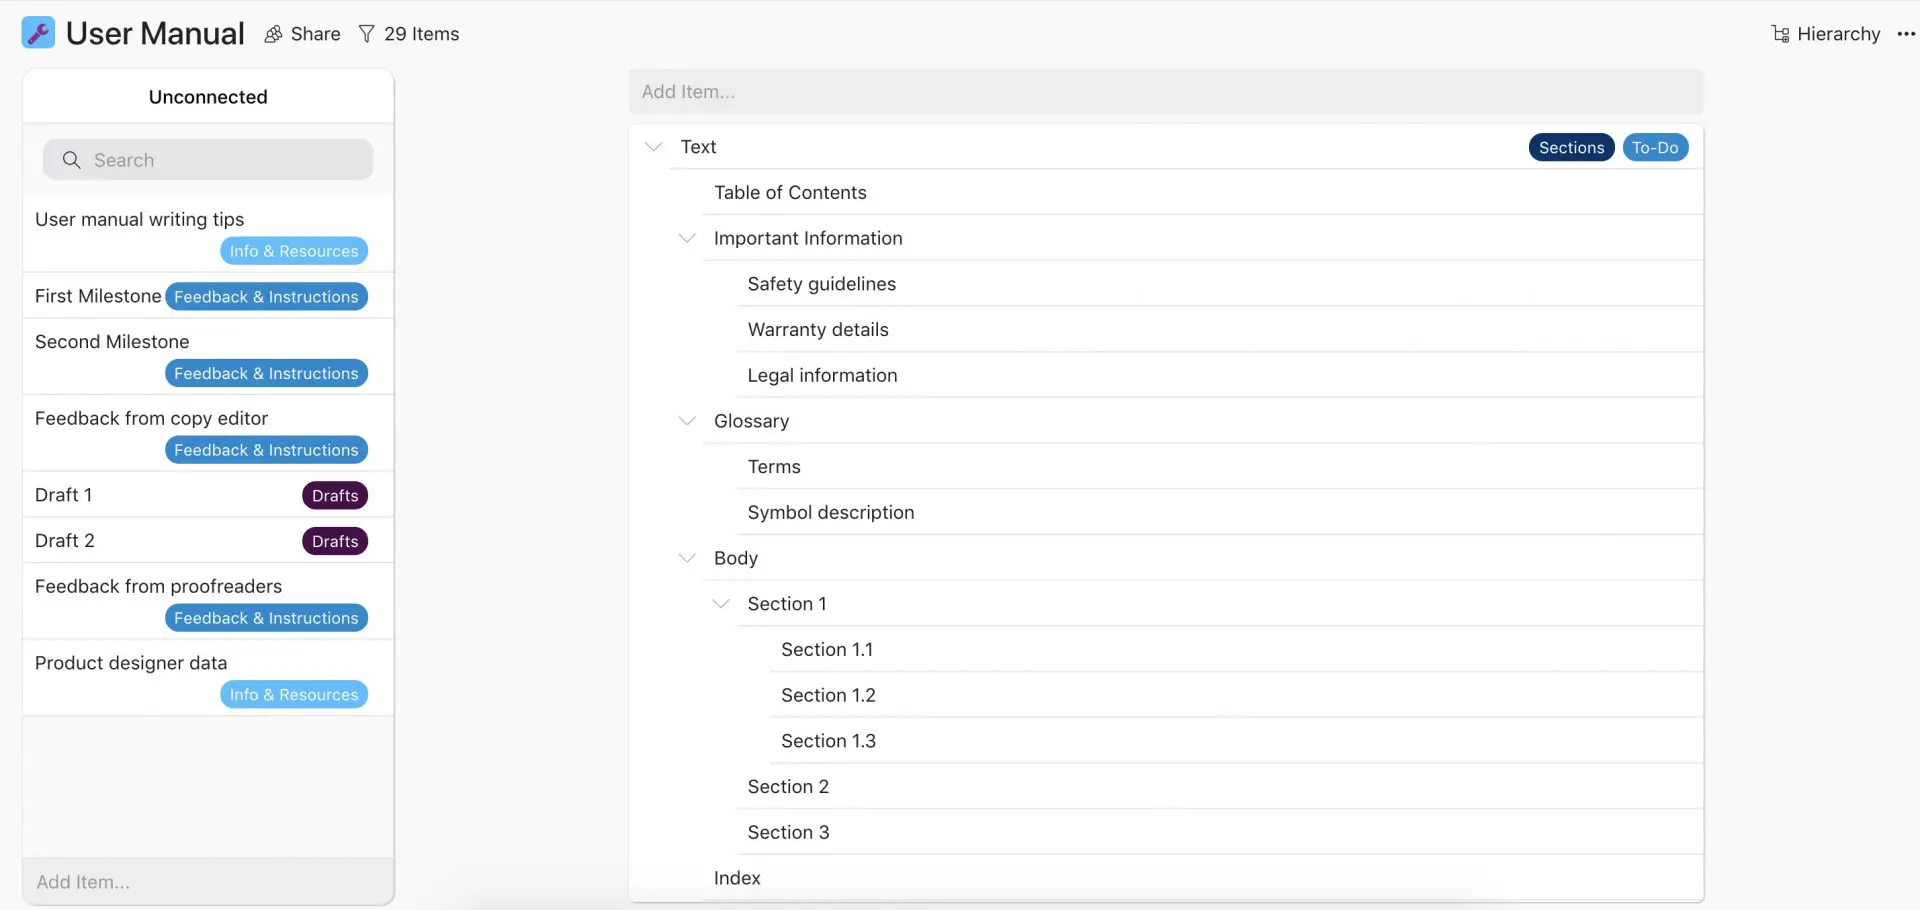
The hierarchy view shows you every single item you’ve added to the hierarchy of your items by using indentations to indicate when an item becomes a subitem. You can get an overview of top tasks only or see everything in your project at once by collapsing or opening the items.
Planning Other Kinds of Text Documents and Materials
Just like planning a user manual, Zenkit can be used to plan other text-heavy documents or materials. The hierarchy view and subitem feature are perfect for planning any project that requires organizing a large amount of content that needs to be broken down into different sections, such as a novel or a college thesis.
Novel writing plan
Writing a novel can take years to complete, which is why it’s a good idea to have somewhere to note it all down. Using a similar template to the user manual guide, you can structure your novel chapter by chapter and keep track of all the characters, plot, and theme details in one platform.
Thesis/dissertation plan
From topic ideas to research to collecting data, writing a thesis or dissertation requires a lot of planning. Using Zenkit to manage it all can help you to get your thesis done on time and ensure you won’t overlook something important!
Click here to use our Thesis/Dissertation Planning template.
Final Thoughts
A great user manual communicates information clearly to the reader so that they are able to overcome any issues that may arise with the product. Using Zenkit to plan the writing process, and taking advantage of the hierarchy view and subitem feature, can help you to produce a quality user manual that can give your customers the best possible experience.
Which was the last user manual you found to be helpful?
Cheers,
Dinnie and the Zenkit Team


Leave a Reply